
Email distribution
Topics on this page
To perform a distribution #-1 of the survey link via automated emailing #-2, the first step is to have created a list of contacts in the Contacts section.
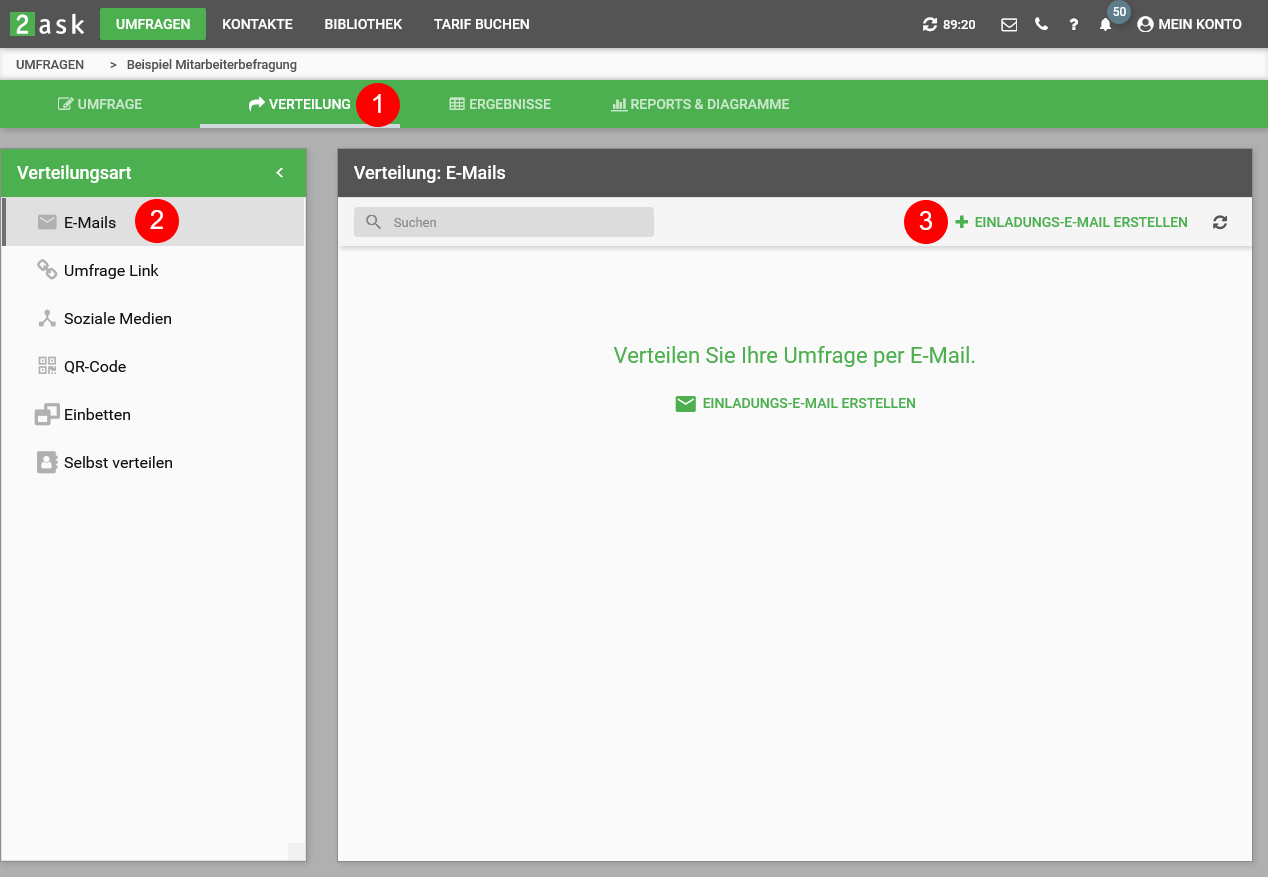
After that, you can click on "Create invitation email" #-3 to access the dialog for creating a new invitation email.
Create invitation email

To compose a new invitation email, please first select a contact list #-1, with the participants you want to send an invitation to, .
Then fill in all the required fields. As the reply address, please enter the mail address to which absence notes or any queries from participants are to be forwarded. As sender name you can either enter your own name or represent the company, department, etc. for which you are conducting the survey. The mail address of our mail server is always used as the sender address. This measure is necessary due to the susceptibility of the mails to spam. The use of own sender addresses is possible in our Enterprisetariffs.
Under Survey Link Type #-2 you need to select the type of survey link.
Survey link types
- Individual link, not anonymous (all contact details embedded)
All stored contact data is displayed in full in the raw data*, so the survey is not anonymous. - Individual link, contact details anonymized except for embedded contact details of the contact.
Of the stored contact data, only your own contact data (e.g. department, customer groups, companies, license plates, etc. ) is displayed*. E-mail addresses and names are not displayed. - Individual link, contact data anonymized except for embedded contact data of the contact, hash coded contact ID is available in the result
. See description above, additionally the hash coded contact ID generated separately by us is displayed in the results. This does not allow any conclusion about the concrete contact. - Individual link, contact details completely anonymized
The survey is completely anonymous, the deposited contact details do not appear in the result. - Email with public link
The survey is completely anonymous, the deposited contact details do not appear in the result.
Difference "individual link" and "public link
The individual links contain access codes that are assigned separately and purely randomly to each participant. The allocation takes place automatically when the e-mails are sent via 2ask.
The individual links with access codes allow
- that participants can always continue the survey on the page they were last on when answering the survey
- When sending the reminder e-mails, you can choose whether only the participants who have not yet completely answered the survey should receive a reminder e-mail
- You can choose whether only participants who have received an individual link with access code can take part in the survey.
The public link is identical for each participant.
*Please note that you need to configure your own contact data, such as department, customer groups, companies, etc., in the questionnaire editor (section: Survey options > Custom data > Add data) at the respective survey, so that they are available in the survey and the results.
In the "Message" text field you can customize the text of the email. The default text automatically contains some data about the survey (survey title, link, unsubscribe link, etc.) and the survey participant (salutation, name, etc.)..
You can add additional data via "Insert fields" #-4.
Do not forget to put your name #-3 in the message body. The unsubscribe link is mandatory for sending via 2ask, because without it the risk of being detected as spam by our mail server is very high.
Before the actual shipment, you have the option to send a preview email #-5. This will be sent to the email address that serves as the login email address.
By clicking on "Send now" #-6 you confirm the sending of the invitation email at the time you selected.
Create reminder and thank you emails

After creating an email distribution, it will appear in the list.
By opening the menu "More" #-1 you now have the possibility to create reminder emails #-2 and a thank you email #-3. To do this, click on the respective button and fill out the following dialog.
Export email shipping status

You can check the sending status of your e-mails at the respective e-mail distribution as follows:
- Opening the "More" menu #-1
- In the "Option" #-2 menu you will find the "Export shipping status" menu item #-3
In the exported excel sheet you will find the shipping status for the respective e-mail address.
Do you find this article helpful?


